Use on Gatsby.js
Create new project#
- Log in to moin dashboard. Click
Create new project
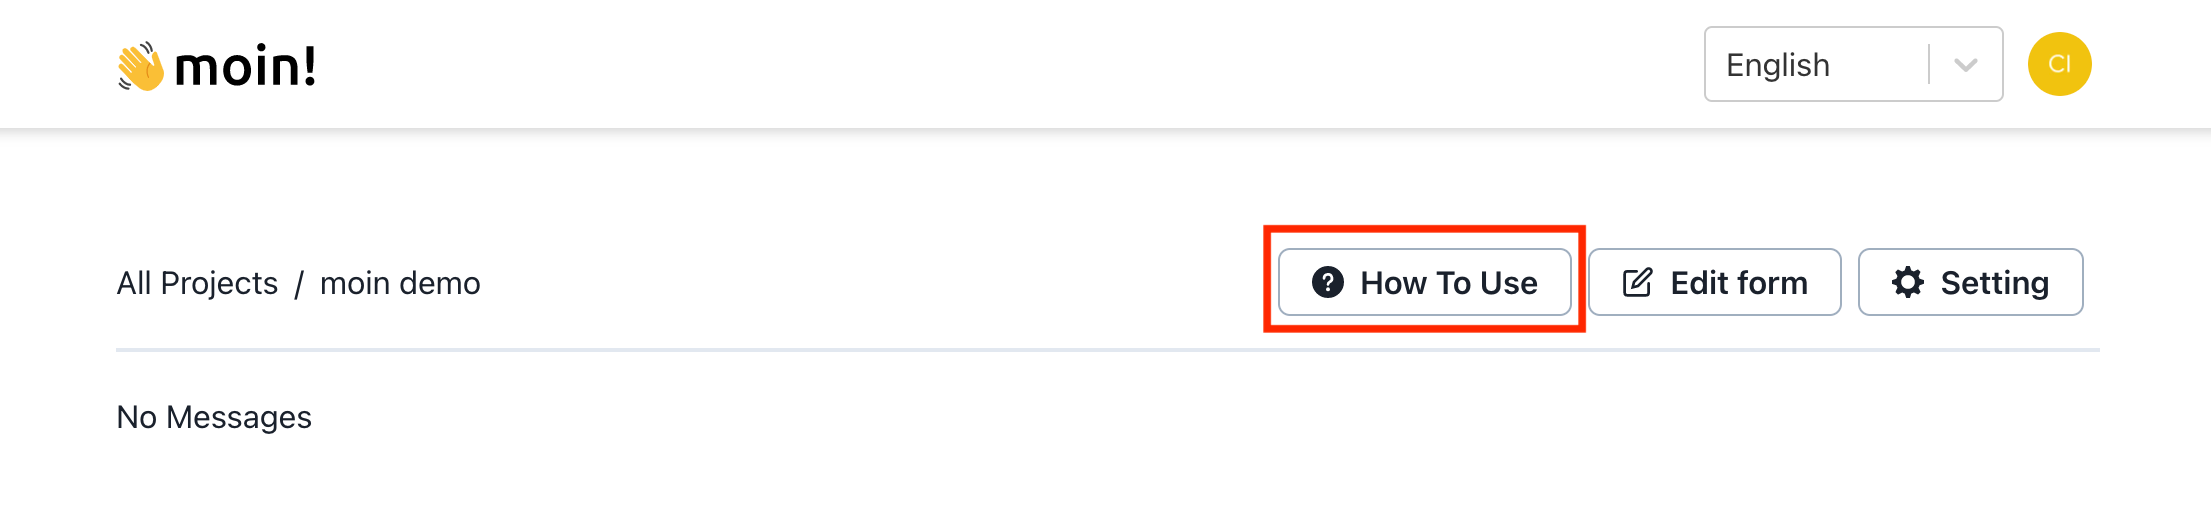
- After creating new project, click
How to use. The page will provide the widget embeded link
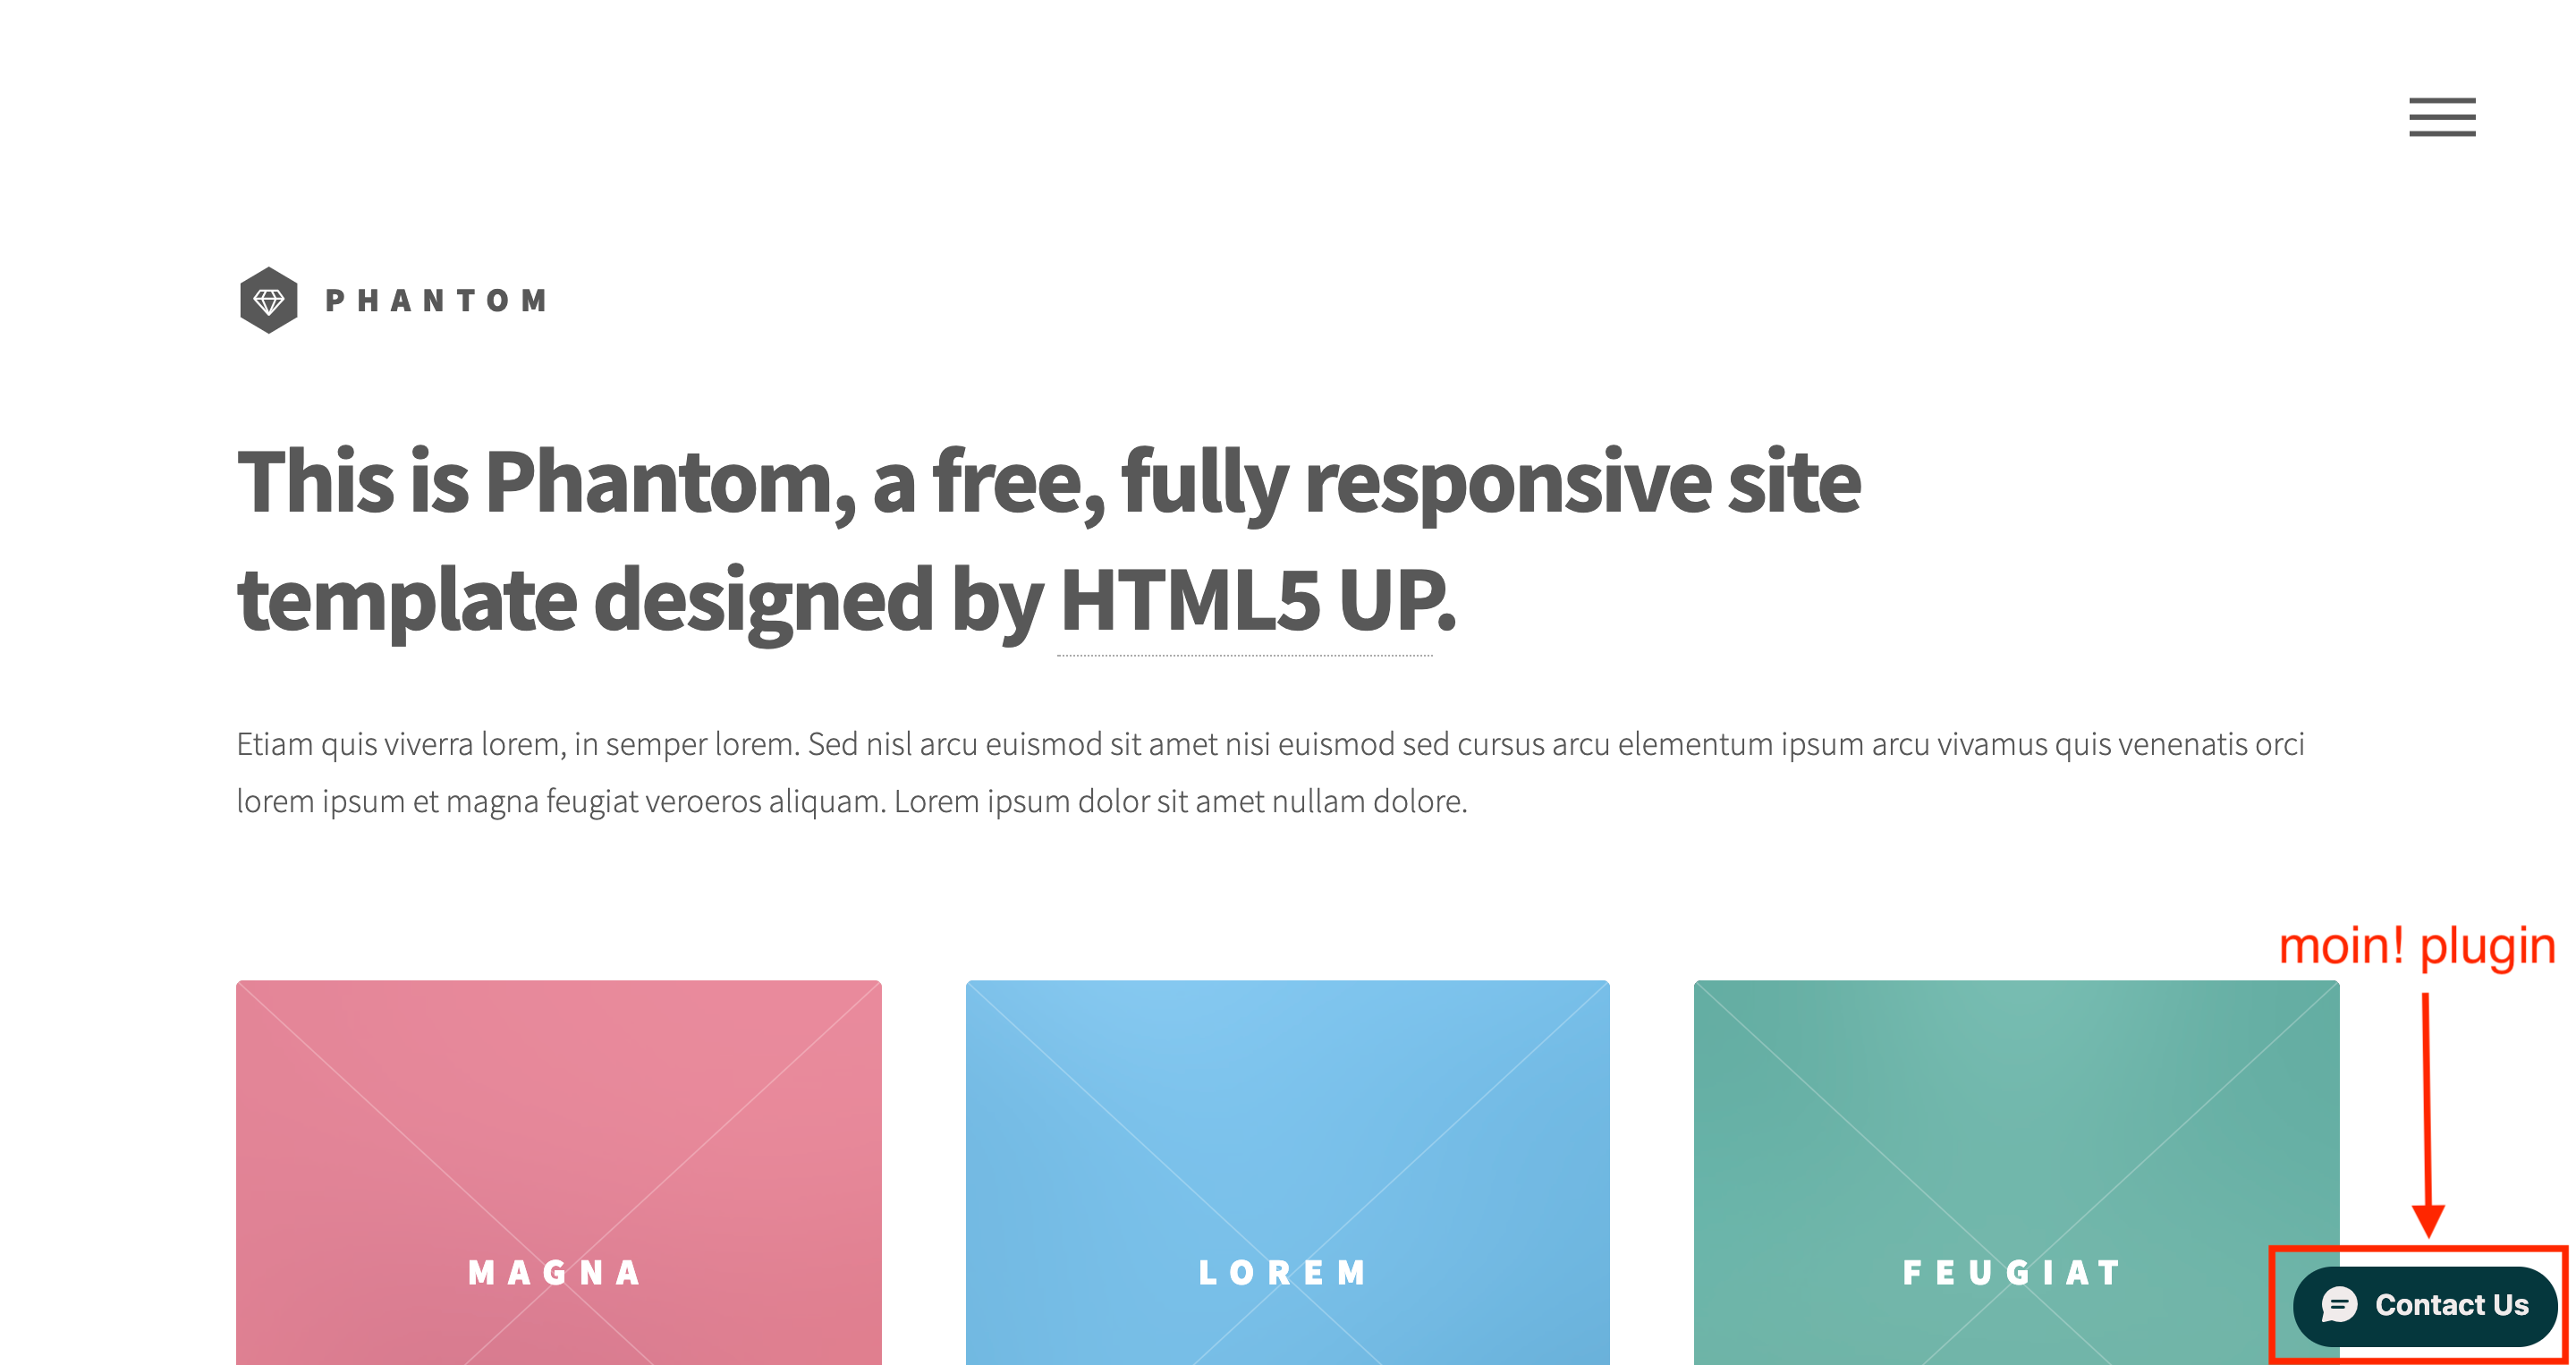
- The red square indicates the widget embedded link for your project
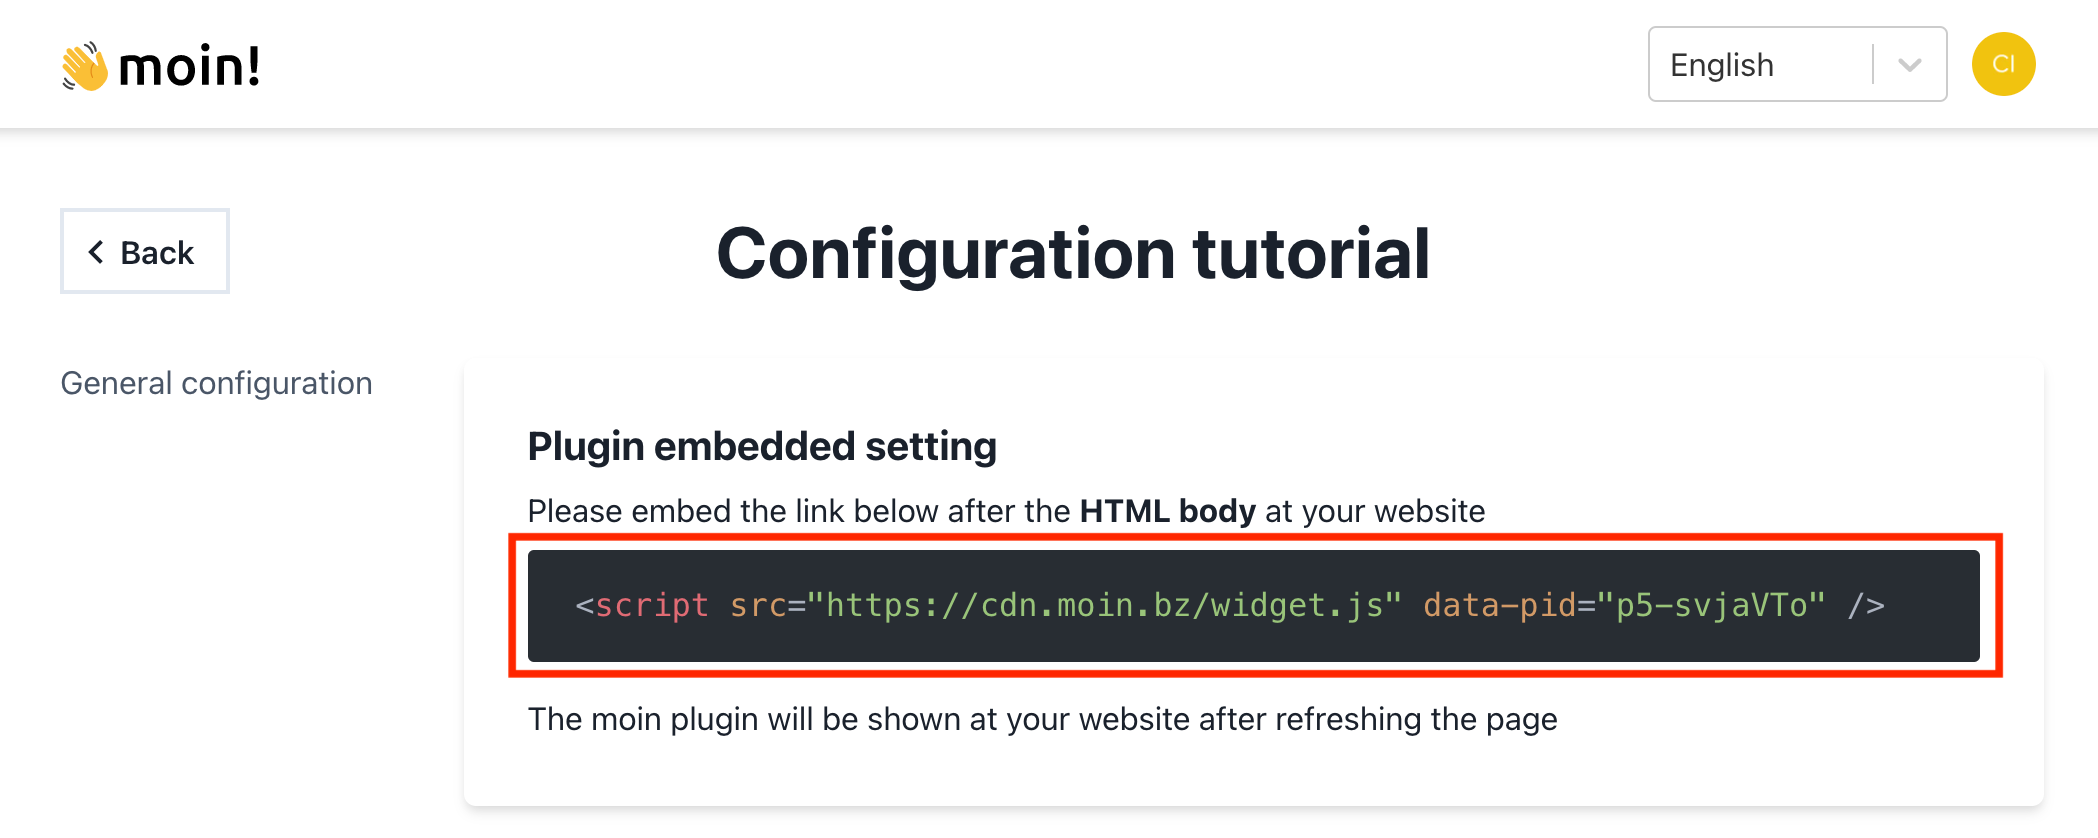
<script src="https://cdn.moin.bz/widget.js" data-pid="p5-svjaVTo" />Add to gatsby.js project#
Method 1: Add script at html.js#
First of all, please follow Customizing html.js to create html.js in your Gatsby website.
After that, add the script above after </body>
import React from "react"import PropTypes from "prop-types"
export default function HTML(props) { return ( <html {...props.htmlAttributes}> <head> <meta charSet="utf-8" /> <meta httpEquiv="x-ua-compatible" content="ie=edge" /> <meta name="viewport" content="width=device-width, initial-scale=1, shrink-to-fit=no" /> {props.headComponents} </head> <body {...props.bodyAttributes}> {props.preBodyComponents} <div key={`body`} id="___gatsby" dangerouslySetInnerHTML={{ __html: props.body }} /> {props.postBodyComponents} </body> <script src="https://cdn.moin.bz/widget.js" data-pid="N_SalWMta1" /> </html> )}Method 2: Add the script via react-helmet#
Add the script in the react-helmet
import React from "react"import { Helmet } from "react-helmet"
class IndexPage extends React.Component { render() { return ( <div className="application"> <Helmet> <script src="https://cdn.moin.bz/widget.js" data-pid="xKIJOd_pEw" /> </Helmet> </div> ) }}Open your Gatsby website, you will find the widget is there!